

For those who are up to date with Part 1 and Part 2 of my build diary, this was planned to be the final stage of engine disassembly. As anyone who has worked on an old engine can attest to however, things rarely go to plan and sure enough by the end of this entry steps still need to be taken on taking assemblies apart. I digress, this still remained a productive few nights as I was able to take apart the bottom end and begin the process of cleaning.
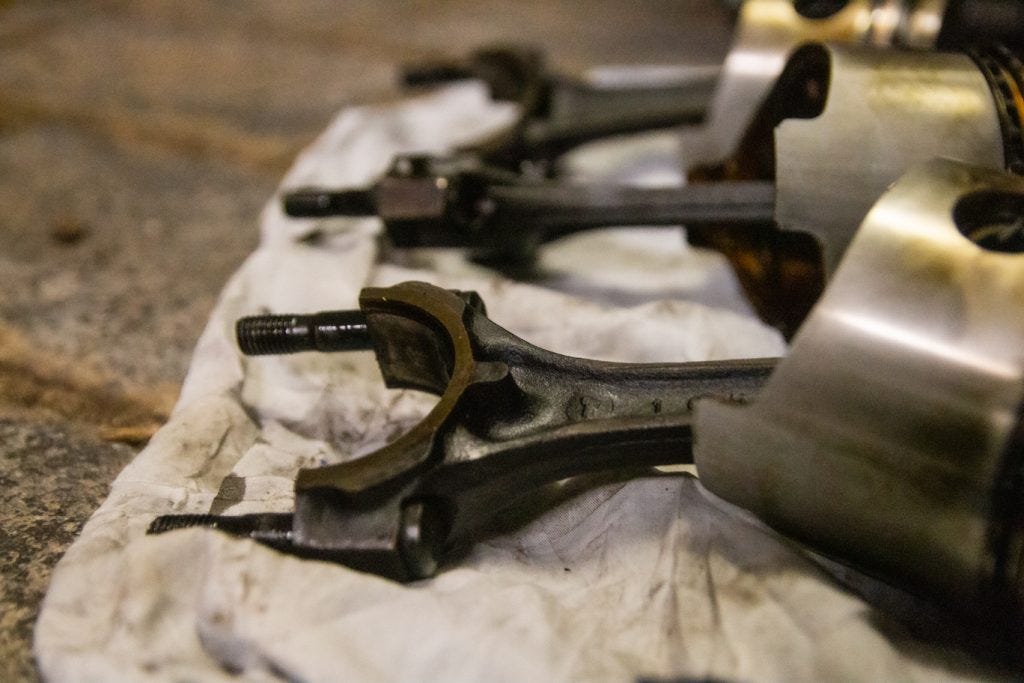
With the help and guidance of my engine guru and Toyota compadre Jordon (he owns and works on a JZZ30 Soarer) we set about getting what was left in the engine block out. The first step of this process was removing the connecting rods which proved to be far trickier than we anticipated them to be. While there was some play between them, they didn’t seem to want to come apart from the piston rods, and while we had our trusty rubber mallet on hand for some encouragement, it didn’t seem to make much of a difference. In the end, we found the solution in hitting the bolts with a brass hammer from directly above. Once the connecting rods were out, so were the pistons.
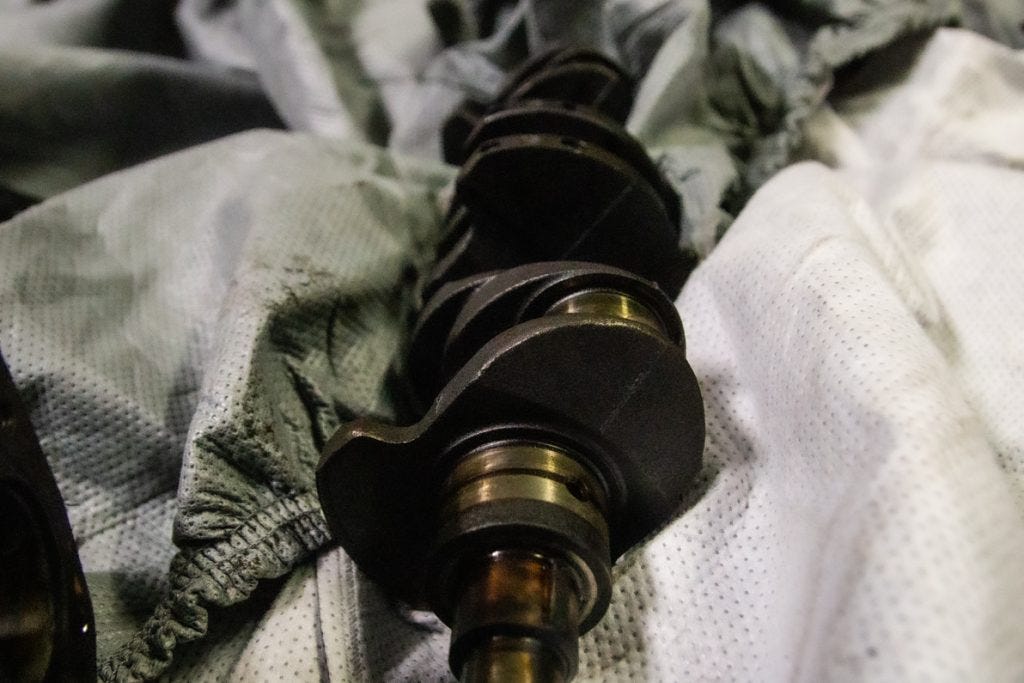
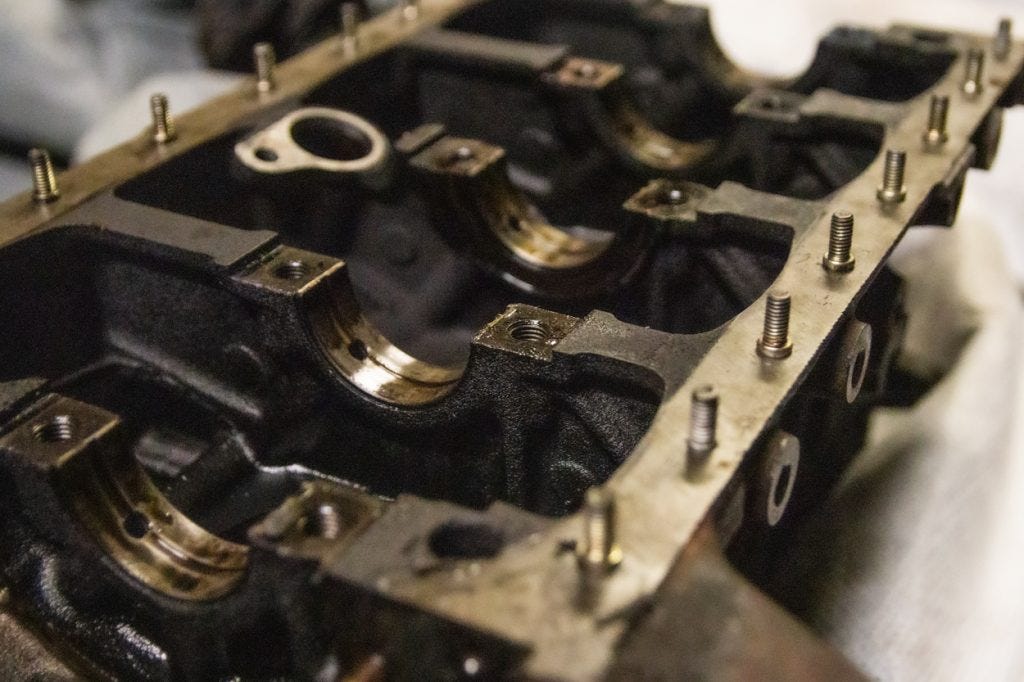
With that done, it was time to remove the block from the stand so we could access the rear seal and engine plate. Despite being a fairly solid cast-iron block, it’s small enough that with the head and ancillaries removed it wasn’t difficult to lift off the stand, especially with additional hands to support the engine stand. With the block on the ground, the plate and rear seal came off easily which meant the crank could finally come out. The block was now completely bare. Assessing all the parts, they appear to be in decent condition all things considered. All mating surfaces appear to be clean and level, however once I have everything cleaned I’ll still most likely get them assessed by an engine shop to determine how much machining and balancing is needed.

It was at this stage I was hoping to take my cylinder head apart. With the purchase of a valve-spring remover tool from a certain “very-affordable” auto parts store I was hopeful it was a task I would be able to do. However even though the 4k is a little OHV engine which should in theory make it perfect for this particular tool, we found the poor design making it quite ineffective. With the compressing bolt taking all of the pressure instead of the springs, the tool itself actually bagan to warp. It would look like the head would have to wait for another day, and hopefully-a better spring remover.
That same auto-store did come through with a parts washer however, which I set up to help clean everything so intricately the parts would seem new. The large 60-litre unit was easy enough to assemble and looked solid enough to do the job well. I also purchased the parts-cleaning concentrate specifically designed for the unit, hopeful it was strong enough to help me remove as much grease and oil as possible.
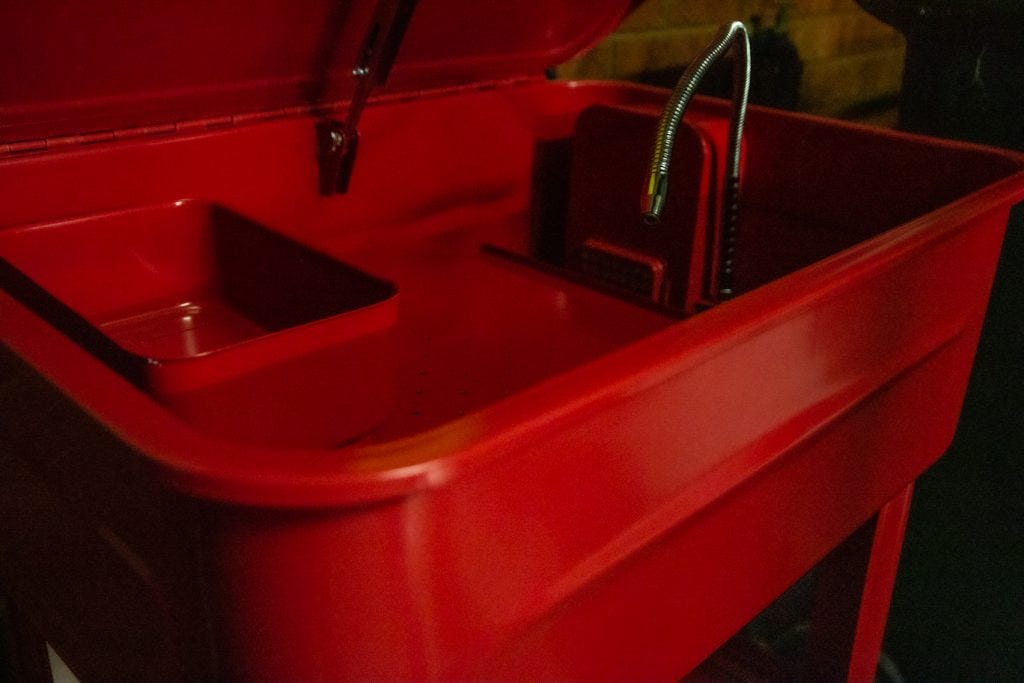
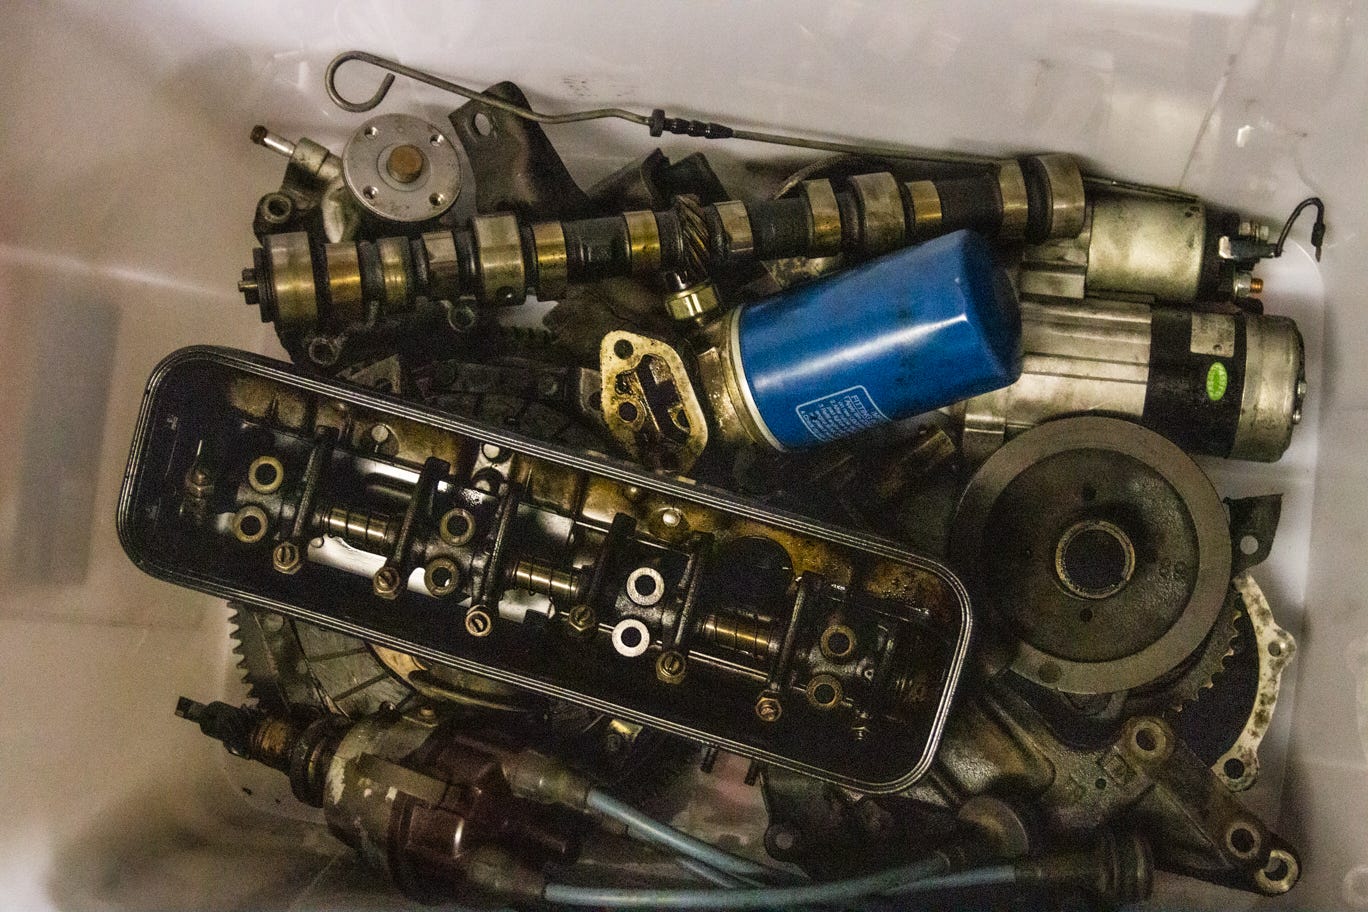
I am planning on two rounds of cleaning. It’s recommended using a 3:1 ratio of water to parts cleaner, but for the first round I’ve used something more like 9:1. The purpose is to initially focus on removing 90% of build-up, while also making sure the water is not as contaminated in the second round when I will use the 3:1 ratio for the remaining 10%. To this stage it’s been successful and most of the parts are beginning to look pretty good, with the exception of some cracks and hard to reach spots. I may have to invest in a wider selection of brushes to help me.
Although things are taking slightly longer than hoped for, progress is progress and I’m relieved that I’ve been able to carry out most of the disassembly without too many hiccups. Truth be told, and hitches I’ve come across haven’t been the fault of the engine itself, but rather the environment I’m working in or tools I’ve used. I’m looking forward to the next step, which will HOPEFULLY see every part completely disassembled and cleaned at least once. I hope you are too!