Part one of the ke55 build will detail the first steps I took in rebuilding a 4KC engine for the Corolla. The 4KC is a 1300L overhead-valve engine belonging to Toyota’s K engine family. While not traditionally a high-output engine, it has a reasonably high-compression making it a lot of fun with the few modifications I have planned such as twin dcoe40 carbs, extractors and a mild-cam as well as a 5spd-gearbox swap.
I found this particular engine for sale after it’s previous owner took it out of a later model ke70. He had told me it’s first owner had been a grandma who had carefully put 150,000kms on it before he purchased it and did a further 20,000kms or thereabouts before rebuilding the cylinder head. As with many older ke owners, his reason for selling was simply to swap it for a more powerful engine. Providing all this information is correct it will prove to be the perfect base for a rebuilt and mildly-worked engine. The 5-speed box was purchased from another corolla owner performing a swap. These have become quite sought after in recent times and I was lucky to find one in such good condition. Luckily it is from another ke55 and not a ke70 which will cause a few less headaches when installing.

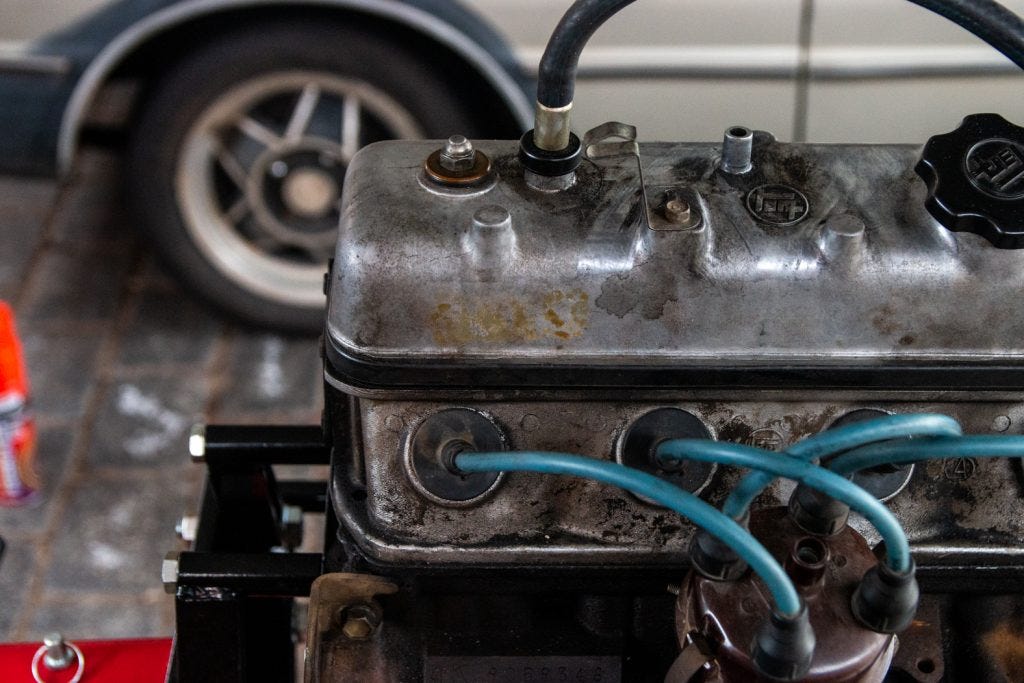
After removing the flywheel and mounting the engine on a stand, the first order of business was to give it a decent clean. While I’ll be making sure each part is individually cleaned as good as new after the engine is completely dismantled, I still wanted to remove as much surface oil and grease as possible to make the teardown an easy and relatively clean process. A few rags, a wire brush and a whole lot of degreaser did a decent enough job.
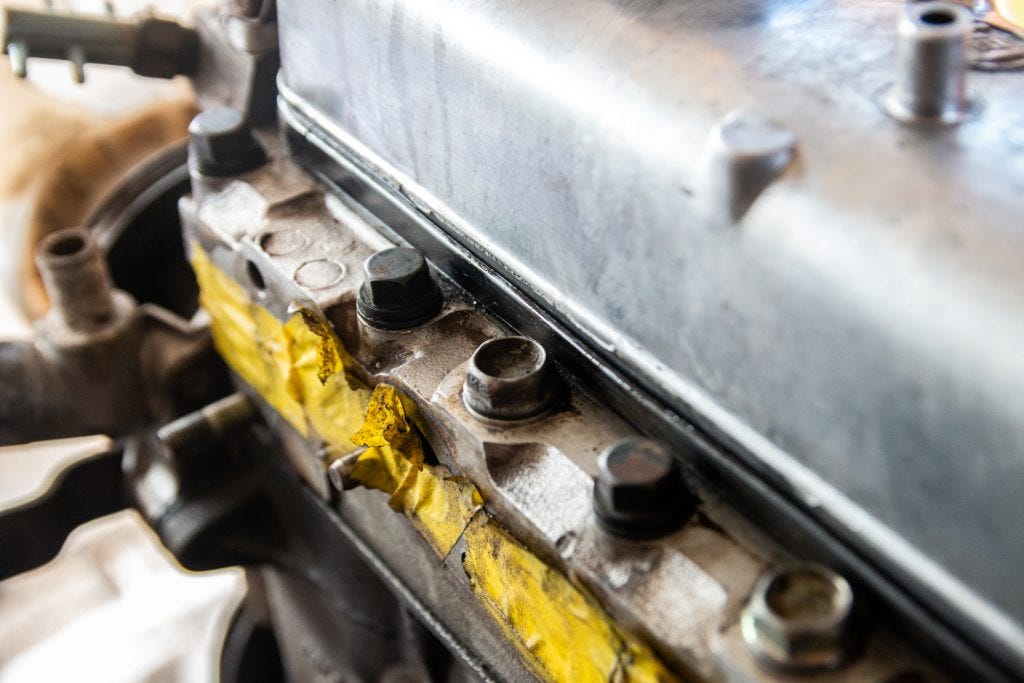
Finally it was time to start taking the engine apart. I happen to have a genuine Toyota service manual from 1983 which is as good a help as you’re likely to find, short of your own experienced Toyota mechanic. The guide not only provides detailed instructions with images, but also highlights the correct sequence of steps, such as the correct order for removing cylinder head bolts, which is extremely helpful.
Removing the back-plate came first, followed by removing the water pump and finally the cylinder head itself. The water pump showed signs of corrosion, however this isn’t reflective of the overall engine condition itself, rather water or coolant which was likely sitting in the pump for a longer period. Looking inside the cylinder head however, everything looked to be in great condition. All the valves and springs moved freely and were lubricated well, a sign that it most likely was in fact rebuilt recently. The head was disassembled with the exception of removing the valve springs, which will need a special tool for the process.

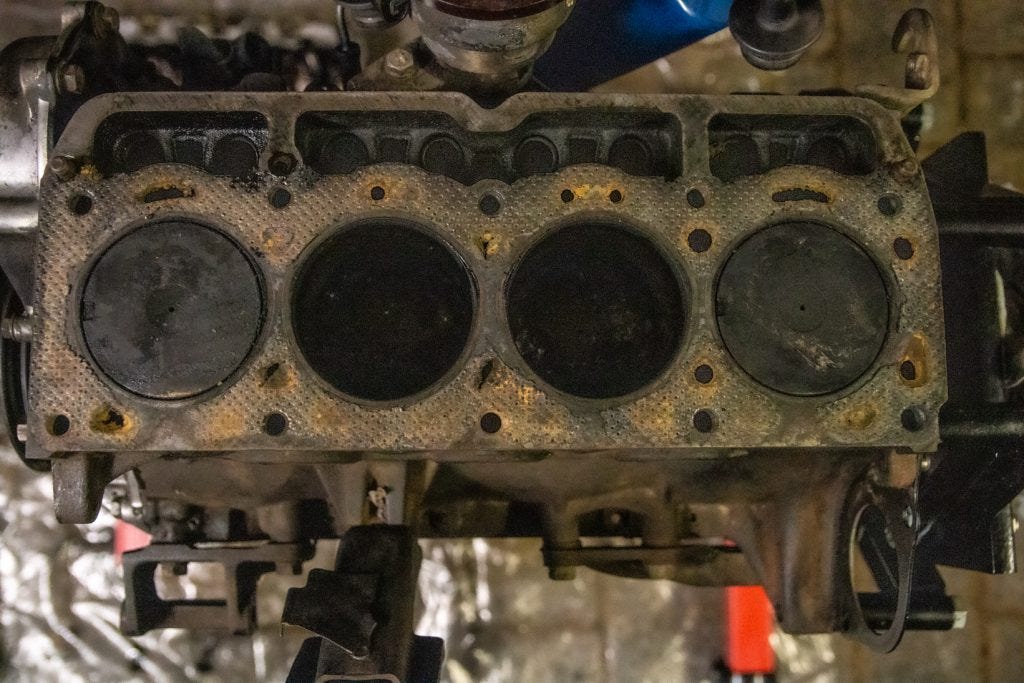
After removing the head from the block, it became clear just how good shape the engine was in. The surface of both the head and block looked to be clean and straight (after scraping away what was possible of the head gasket). I was nervously awaiting what condition the surfaces would be like and expecting I would have to get some machine work down to ensure they are both straight, however it now looks like that may not be necessary after all. What was an even bigger surprise was the condition of the bores. It appeared they too had been cleaned and possibly honed recently, thus removing the need to do it myself and giving another indicator that this really did look to be a healthy little engine.
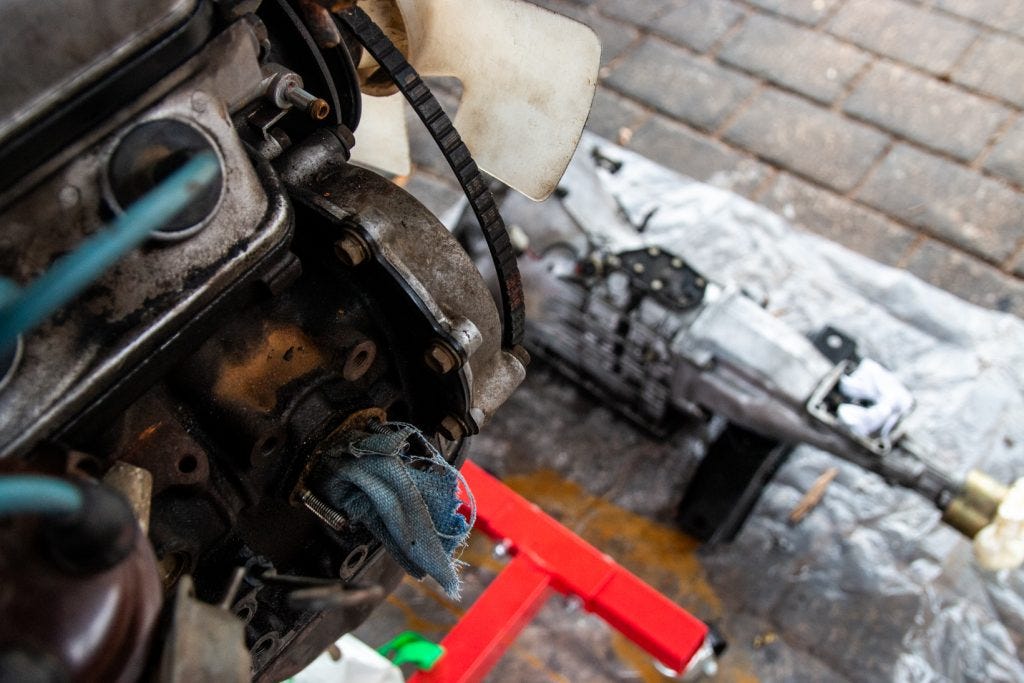
After removing a few of the engine mounts from the block it was time to call it a night, satisfied with the day’s progress. There is still some way to go in getting this engine completely into pieces, and I’ll get a real idea for what shape it’s in when I remove the pistons and get a look at them. For now, the signs are looking positive, and it’s hopeful I’ve found a great engine that (after a bit of love) should last me a very long time.